

Introduction
A kitchen extractor fan is essential for maintaining a fresh, smoke-free, and odor-free cooking environment. Over time, grease, dust, and food particles accumulate on the fan, reducing efficiency and creating potential hygiene issues. Knowing how to clean kitchen extractor fan — Practical Tips and Expert Advice properties ensures your kitchen stays safe and your fan operates at peak performance. Whether you cook daily or occasionally, a clean extractor fan is vital for maintaining a healthy kitchen atmosphere.
Understanding the Kitchen Extractor Fan
Before diving into cleaning, it is crucial to understand the components of your kitchen extractor fan. Most extractor fans have a removable cover, a motor, a filter, and a duct that vents air outside. The filter traps grease and particles, while the motor powers the fan. Proper maintenance keeps the fan efficient, prolongs its life, and prevents unpleasant kitchen odors.
Some models have carbon filters that require replacement instead of cleaning, while others use metal filters that can be washed repeatedly. Identifying your extractor type ensures you choose the correct cleaning approach and avoid damaging expensive components.
Preparation for Cleaning
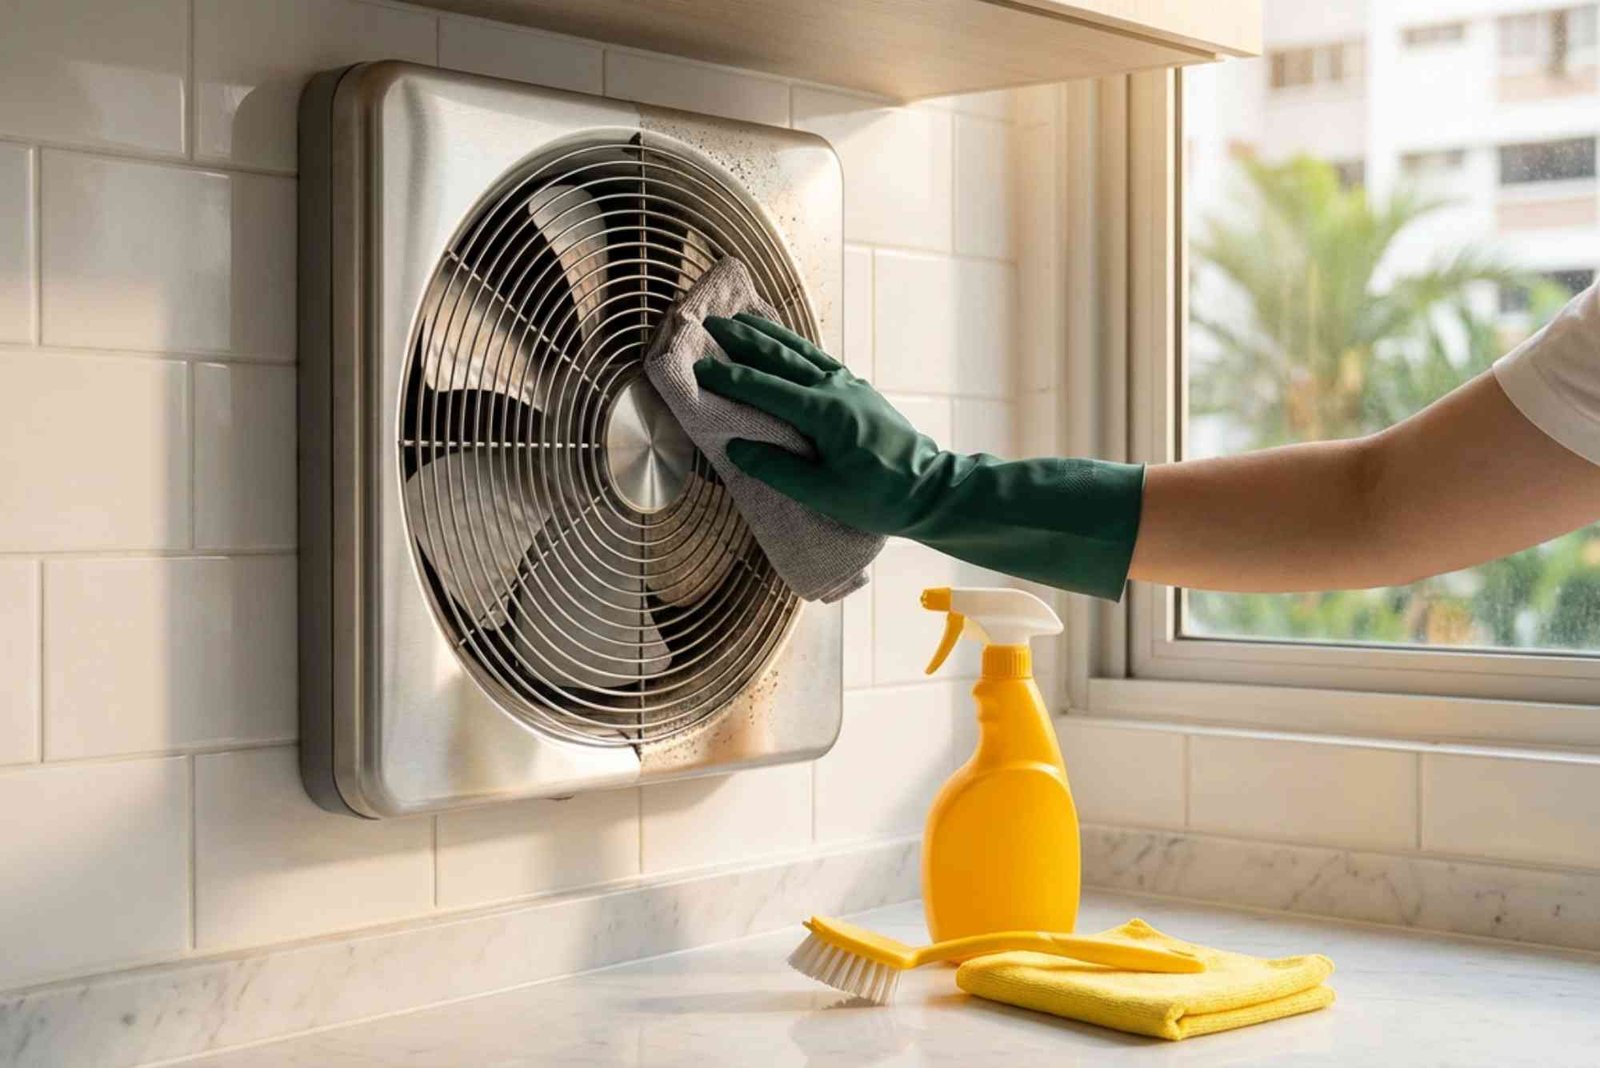
Proper preparation is key to a smooth cleaning process. Start by turning off the fan and disconnecting it from power to ensure safety. Lay down old newspapers or towels under the fan to catch dripping grease and cleaner residues. Removing all detachable parts such as the cover, metal filter, and light bulbs makes the cleaning process easier.
Always wear gloves and, if needed, a face mask to protect yourself from strong cleaning agents and accumulated dust. Using the right tools, including a soft brush, microfiber cloth, and non-abrasive sponge, prevents scratching and maintains your extractor’s appearance.
Cleaning the Removable Parts
Once the parts are detached, the most effective way to clean them is soaking. Fill a sink or large container with hot water and add a few drops of degreasing dish soap. Submerge the metal filter and cover, letting them soak for 15–20 minutes. This loosens stubborn grease and grime, making scrubbing more effective.
After soaking, gently scrub the parts with a soft brush or sponge. Pay special attention to corners and crevices where grease tends to build up. Rinse thoroughly with warm water to remove soap residues. For tougher grease, a paste of baking soda and water works as a safe, natural abrasive without damaging the metal surface. Dry all parts completely before reassembling.
Cleaning the Fan Motor and Surrounding Area
The motor and non-removable areas of your kitchen extractor fan require careful cleaning. Avoid exposing the motor to water. Instead, use a dry microfiber cloth or a soft brush to remove dust and light grease. Compressed air can be used to blow away hard-to-reach particles, particularly in crevices around the fan blades.
If grease has accumulated around the fan housing, a damp cloth with a mild detergent solution can be carefully used. Always avoid dripping liquid into the motor, as this may cause electrical damage. This step ensures the fan operates efficiently while reducing the risk of fire hazards caused by grease buildup.
Reassembling and Testing
After all components are clean and completely dry, reassemble the extractor fan. Ensure the filter fits securely, the cover is properly aligned, and the fan blades move freely. Reconnect the power and run the fan on different speeds to check for any unusual noises or vibrations. Proper testing confirms that cleaning has been successful and your extractor fan is ready for safe, effective operation.
Routine maintenance of your extractor fan is just as important as deep cleaning. Wipe down the exterior with a damp cloth weekly and rinse metal filters monthly, depending on cooking frequency. Consistent care prevents heavy grease buildup, reducing the need for labor-intensive cleaning sessions.
Using Eco-Friendly Cleaning Solutions
Traditional chemical cleaners can be effective but may release fumes or irritants. Eco-friendly alternatives like white vinegar, baking soda, and lemon juice work well against grease. For example, spraying a vinegar solution on the filter before soaking helps break down tough grease naturally. Baking soda paste can tackle stubborn spots without harsh chemicals.
These eco-friendly solutions are not only safer for your family and pets but also protect your extractor fan from damage caused by aggressive chemicals. Following natural cleaning methods can extend the lifespan of your fan while ensuring a safe and hygienic kitchen.
Common Mistakes to Avoid
Many people unintentionally reduce the effectiveness of their extractor fan through improper cleaning. Using abrasive brushes or steel wool can scratch metal filters, leading to rust and weakened surfaces. Spraying cleaning liquid directly onto the motor can cause electrical hazards.
Neglecting regular maintenance is another common mistake. Allowing grease to accumulate makes future cleaning more difficult and decreases fan efficiency. Following a structured cleaning routine and using the right techniques ensures your kitchen extractor fan stays in top condition.
Professional Assistance vs DIY
While DIY cleaning is sufficient for most households, some situations may require professional help. If your extractor fan has an intricate design, integrated lighting, or ducting that vents outside, professional cleaning ensures complete safety and thorough grease removal. Expert technicians can also check for motor issues, airflow efficiency, and hidden grease in ducts.
DIY cleaning remains effective for standard extractor fans and provides a cost-effective solution. By following proper steps, using suitable cleaning agents, and scheduling regular maintenance, homeowners can maintain a clean and safe kitchen environment without recurring costs.
Benefits of a Clean Kitchen Extractor Fan
A clean extractor fan offers more than aesthetic benefits. Removing grease and dirt enhances airflow, improves cooking efficiency, and reduces kitchen odors. It also minimizes fire risks since grease accumulation in fans and ducts is a potential hazard. Clean fans consume less electricity, prolong motor life, and maintain overall kitchen hygiene.
Investing time in cleaning your kitchen extractor fan pays off with improved air quality and reduced maintenance costs over time. A well-maintained fan contributes to a healthier home, better cooking experiences, and fewer surprises from malfunctioning appliances.
Looking for reliable tips, guides, and resources to make your daily life easier? Visit our homepage at BreezyNote for expert insights, practical advice, and curated content designed to inspire and simplify your routines. Explore articles, how-tos, and updates that help you stay informed and productive every day. BreezyNote is your go-to source for quality information in one convenient place.
Learning how to clean kitchen extractor fan — Practical Tips and Expert Advice properties is crucial for every homeowner. From understanding your extractor type to using eco-friendly solutions and avoiding common mistakes, a structured cleaning routine ensures efficiency, hygiene, and safety.
For a detailed guide on step-by-step cleaning methods and expert advice, explore How To Clean or check How To Clean Kitchen. For general information about extractor fans, you can also Read more on en.wikipedia.org.